Mount your stitching ready for a box frame or to display propped on an Artists, desktop Easel.
This is a technique I learned at Art School for stretching canvas in preparation for painting. I have adapted the technique here to show you how to beautifully display your finished needle work in a fresh and minimalist, modern way.
You will find out how to stretch your aida over an artist canvas so that you can display your work simply propped on an artist easel or framed in a deep box frame.
What do you need?
- Staple gun
- Staple remover, you may need this if you want to reposition your fabric after stapling.
- Artist canvas. A pre-stretched artist canvas are pre stretched over a wooden frame and traditionally for painting on. They are either white or linen coloured. These are available in a wide range of sizes and can even be made to measure if you require unusual dimensions.
- Your cross stitch. Depending on the depth of your chosen canvas you need around 4 cm excess aida.

Preparing your needle work for finishing
- Trim any excess threads.
- Gently hand wash your work in cool water with a touch of liquid laundry detergent. Drip-dry a little and then press with an iron from the back until dry. Make sure the surface you are ironing on is clean.
Selecting the right canvas size for your work
- The easiest way to find an appropriate sizes canvas is to take your work to an art supply store and physically measure your work against the frame.
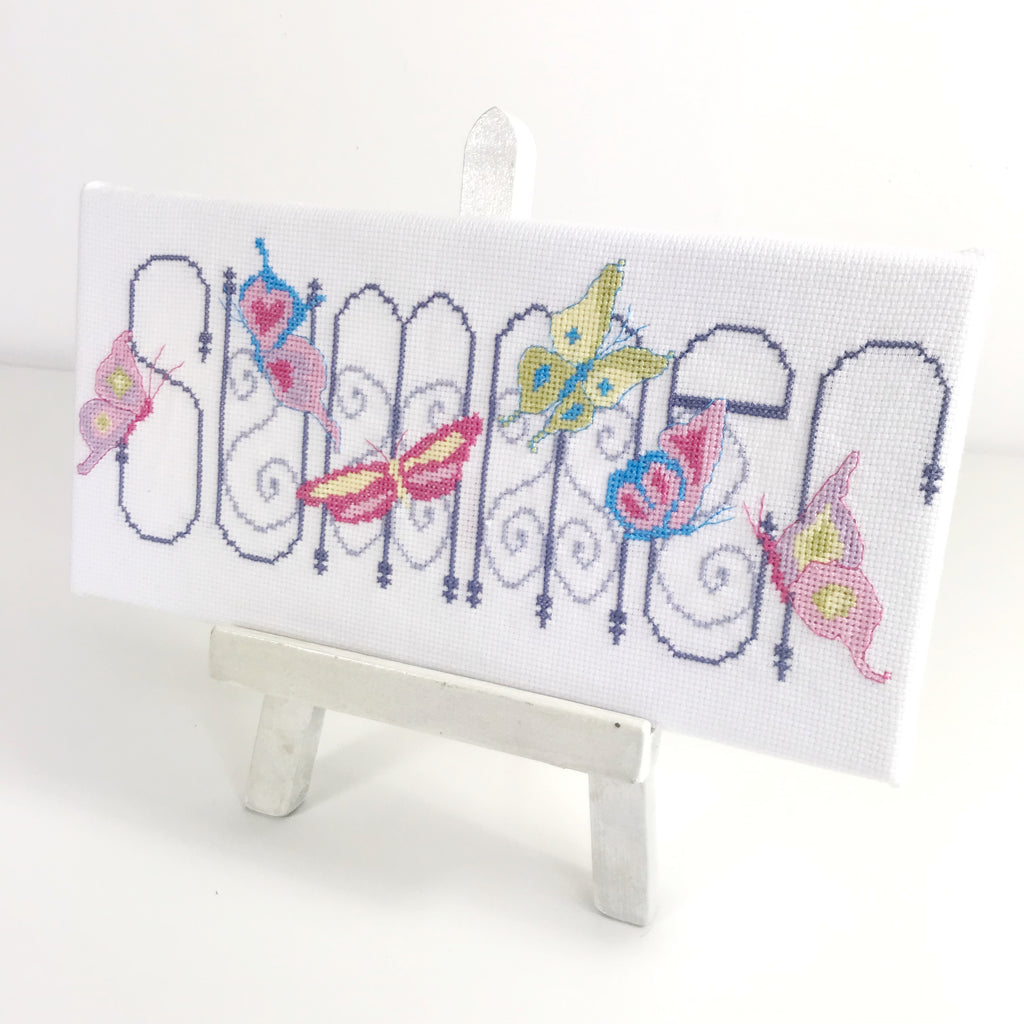
- Alternatively measure your work. Measure not only the stitch size but also think about how much of a boarder you would like around stitching. For my Summer Garden design I decided to have a thin boarder.
- Tip: Remember you will need a large enough excess aida to wrap around the sides and back of canvas.

Centring your work over the canvas
- Simply lay your work over the canvas and visually place your work where you wish.

- When it is in place, flip over and staple in place. Staple in the centre of opposite sides, applying a small amount of tentation while stapling.


- Now is a good time to check the position of your stitching. If it is not straight or central, remove the staples with the staple remover before repositioning.
- Once you are happy with the layout add one staple to each side to secure in place. Remember to pull while stapling to stretch slightly and create a light tentation.
- Staple along one of the short edges.


How to Make Neat Corners
- Pull the aida tightly up and across.
- Staple in place.
- Pull the remaining fabric in the other direction, tucking it under and parallel to the edge.


- Staple in pace and repeat for each corner.
- Finally add some extra staples to the long sides.


Tada! Your work is now ready to display to the world.
How to further enjoy your handy work
Instead of hanging it in a traditional hoop or incorporating it into your soft furnishings, you can:
- Add to a box frame.
- Prop on an artist easel.
- Display on a shelf
- Or add a ribbon and hang from a peg!

Table Top display easels are available in all sorts of shapes and sizes. Simply visit your local arts and craft store or do a quick google search to fined the right one for your project.
The Summer Garden design I've used to demonstrate the process is now available in my store, but you can use this technique for any other crossstich or embroidery work you love.
If you get stuck or struggle at any point, please feel free to message me below or find me on Instagram at www.instagram.com/stitchkitscraft. I also enjoy seeing your completed projects over there so please tag me and use #stitchkitscraftinaction - I'm excited already to hear from you!
I would love to hear what you think.