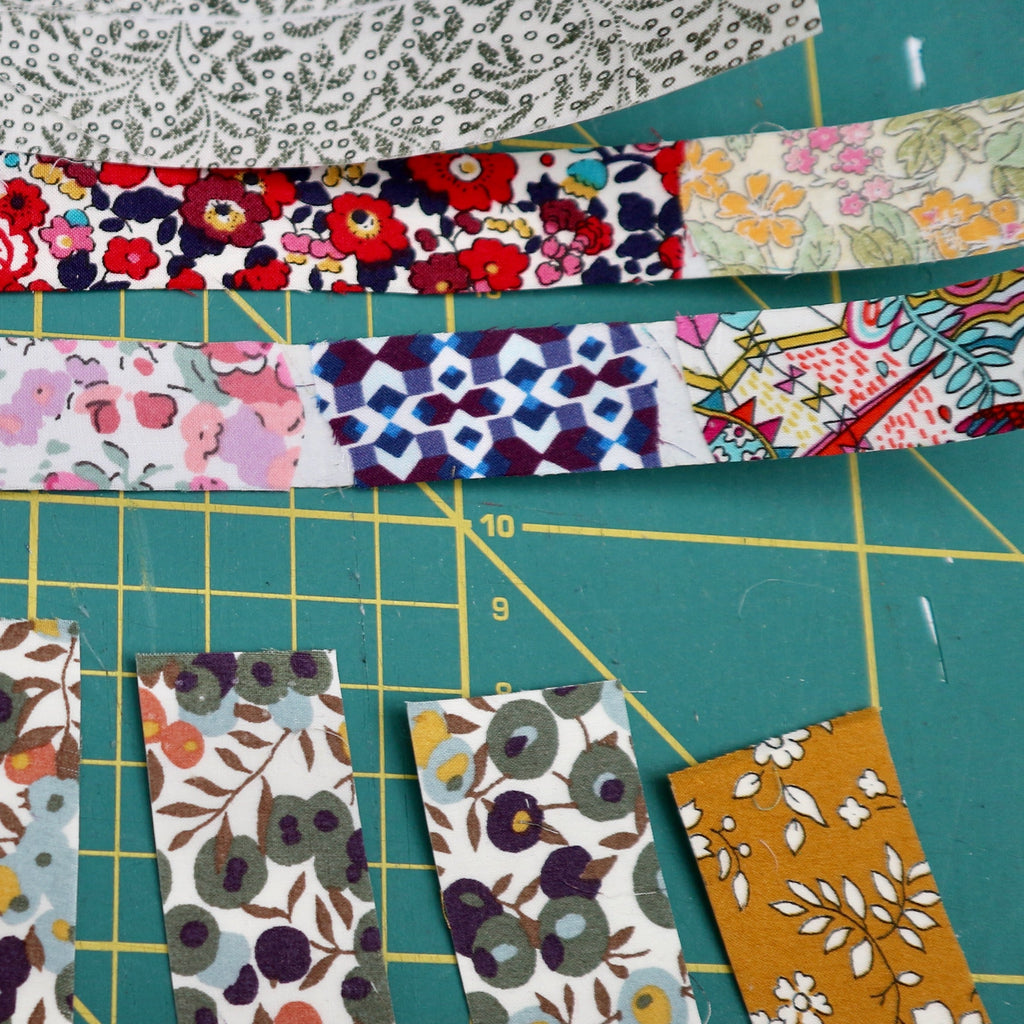
Do you, like me, have lots of tiny fabric scraps that you just can't throw away? Working with Liberty fabrics makes it hard to throw anything out, as even the smallest pieces are both beautiful and precious. Making your scraps into washi tape is the perfect way to extend the life of your little scraps. It is fast and easy. The results are pretty AND useful.
What do you need?
- Fabric Scraps
- Double Sided Sticky tape. This can be any size. I got a nice wide one from Amazon and also had a thin one knocking idly around my studio.
- Roatory cutter, Cutting board and quilting ruler Or
- Paper Scissors. You will not want to use your good fabric scissors as they will get a bit gummy from the tape.
How to make your own washi tape.
You won't believe how easy this is! Just wind out the. double-sided sticky tape with the sticky side facing up and start to stick your fabric to it.
Try to avoid gaps where possible, but don't worry too much, as you will be trimming it up soon.

Once you have a nice length prepared, flip it over and trim off the edges.

If you are using scissors don't worry too much about being very straight, the finished result looks fabulous even when they are a little wonky.


Now for the final step. Turn over, fabric facing up and trim to your required size. Neaten up the edges a little as you go.

And Ta-Da.............

You now have a lovely pile of beautiful, ready-use washi tape stickers made from all of your favourite fabrics. They are soooo useful. I use them in my Kits and packaging. They are also lovely to brighten up gift wrapping or add too craft projects and journals. the uses are endless.

Pro Tips
When you come to use your tape be sure to peel from the fabric side! I should peel away the backing easily.
And finally...do you procrastinate like me? Instead of putting your scraps away at the end of a sewing session, try sticking them straight to the double-sided tape. Wind the roll back up and add to it, or finish off another day.💕


I would love to hear what you think.